


Most businesses missing from Apple Maps have never claimed or added their place in Apple Business, are stuck waiting on organisation verification, or are managing a different record from the one customers see. Search Maps for your place first, then sign in at business.apple.com, verify your organisation, claim the existing place (or add a new one), and fill in the place card with the same details as your website.
Last checked against Apple Newsroom, the Apple Business User Guide and Apple Support: 10 Nov 2026.
Apple Business Connect is now Apple Business
Many guides still tell you to use Apple Business Connect. Apple’s Newsroom announcement (24 March 2026) says Business Connect “will no longer be available” once Apple Business launched on 14 April 2026, and that Apple Business is “a free service” in the U.S. and more than 200 countries and regions.
If you used Business Connect before, you should not need to start again. Apple says existing data, “including claimed locations, place card information, photos, organization information”, migrates to Apple Business automatically. Sign in with your existing account before creating anything new.
One more check: Apple lists which features work in each country on its feature availability page. Make sure Brand and Location Management is available where you trade.
Search Apple Maps before you add anything
On an iPhone, open Maps and search for your business the way a customer would:
- Your exact business name
- Your name plus street or area
- Your phone number
- Old names, misspellings and a previous address, if you have moved
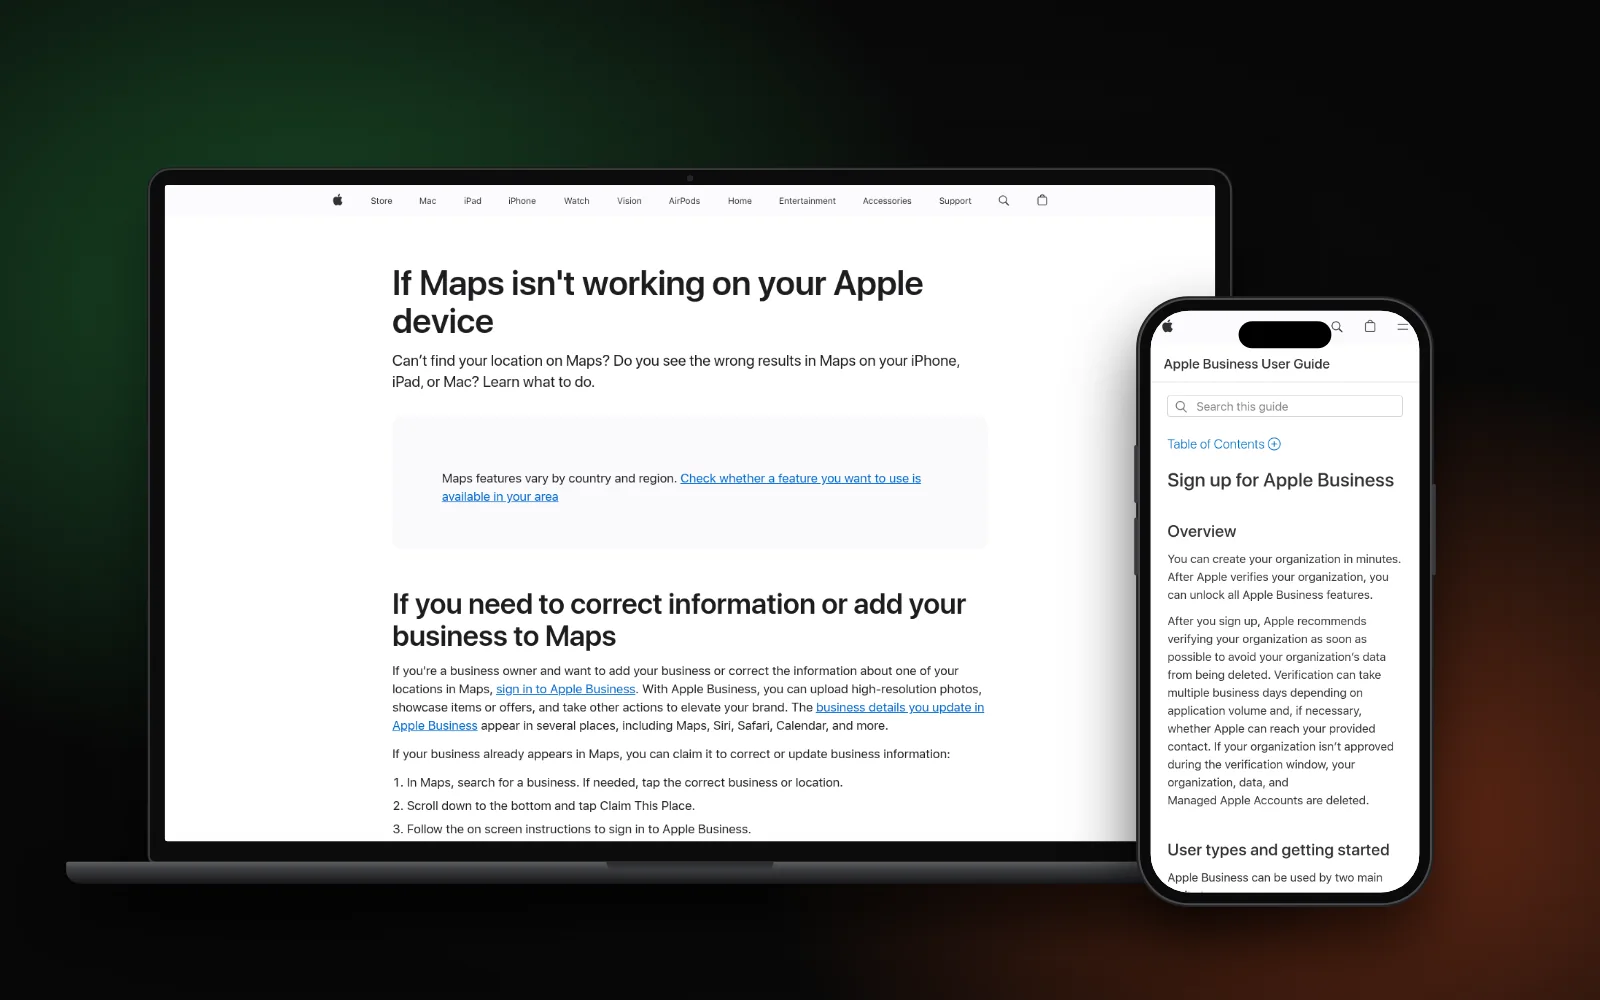
If you find a place card, it is yours to claim, not replace. Apple’s Maps help page says to open the business in Maps, scroll to the bottom, tap Claim This Place, and follow the steps to sign in to Apple Business. If you find two cards for the same business, note both before you change anything.
If you find nothing, you will add a new location. That is normal for newer businesses and for places that have never been listed.
Verify your organisation
This is the step that holds most people up. Apple’s sign-up and verification guide says:
- You have 60 days after signing up to verify your organisation. If it is not approved in that window, the organisation and its data are deleted.
- Verification needs two methods, such as a business ID (D-U-N-S Number or EIN), a DNS TXT record on your domain, or an official document like a business licence.
- It “can take up to five business days”, and longer in busy periods.
- Adding your website is optional, but Apple says it “can expedite” verification.
Use your real business name, the legal name of the person signing up, and an email on your own domain if you have one. Apple asks you to make sure filters allow mail from all apple.com domains, so verification emails do not land in spam.
Claim or add the location
Apple’s add a single location guide uses the same start for both routes: Brands › Locations › Add Location › Add single location. Then:
- Existing place: enter the name, then find and select your place from the results. Do not pick “Add a new location” for a place that already exists, or you risk a second card.
- New place: enter the name, select “Add a new location with this name”, enter the address and drag the map so the marker sits over the right building.
- Add the basics: display name, primary category, status (Open or Opening Soon), phone number with country code, website and hours.
- Verify: for an existing place, Apple may offer a phone call to the number it already has on record, with a four-digit code. If you do not recognise that number, Apple says to contact Apple Business support.
If Apple shows “This location is already managed”, someone else claimed it, often a former owner or an old agency. Apple’s guide says to finish adding the location and then request a transfer.
Fill in the place card
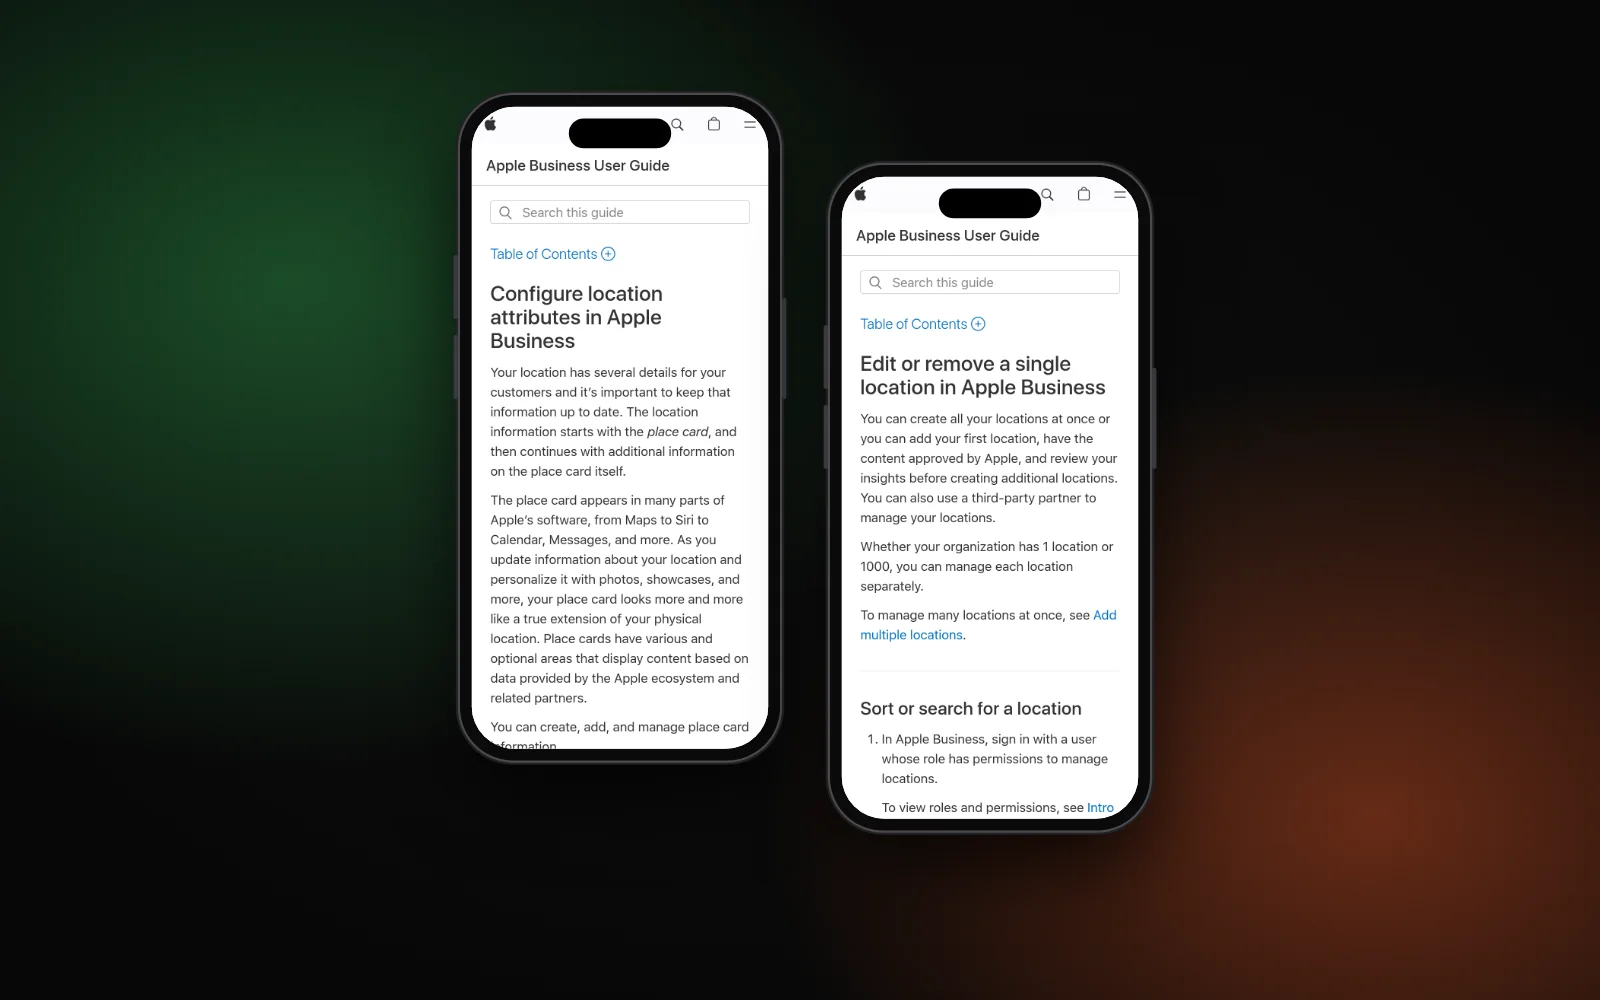
The place card is what people see in Maps, and Apple’s location attributes guide says it also appears in Siri, Calendar, Messages and more. Apple’s own rules for it:
- Display name “needs to match the name on the storefront, signage, or official website”, with no extra descriptions.
- Address should be “the address officially listed on your website” and the one customers use to find you.
- Map pin should be “on top of the building, centered over your location”, not on the road.
- Hours should match the hours on your website wherever possible.
- Phone should be the number published on your website, with the country code.
- Category: pick one primary category, as specific as possible. Apple notes categories were recently updated, so check yours has not changed.
These are the same facts you should already have on Google and Bing. Keep one master copy and use it everywhere; our guide to fixing local citations and NAP errors shows how.
Check it like a customer
Apple does not publish how long a new or edited place takes to show in Maps, so do not trust anyone who promises a date. Once the dashboard shows the location as verified:
- Search Maps on an iPhone with the same name, phone and service searches you used at the start.
- Open the place card and check name, pin, hours, phone and website against your site.
- If a detail is wrong, fix it in Apple Business, which Apple’s Maps help names as the place owners correct business information.
- Check Google and Bing in the same sitting. If those are missing too, see why your business isn’t showing on Google Maps and why it isn’t showing on Bing Places.
Our local SEO checklist puts Apple in the wider listings order. Skip paid “get on Apple Maps” services: the tool is free, and the steps above are the whole job.
Need a hand?
Claiming and matching listings across Google, Apple and Bing is part of our local SEO service. To see where you show up on Google, Maps and AI answers first, run the free Search Gap check. We typically reply within 1–2 business days.